How to Upgrade Light Fixtures Without Hiring a Pro
This comprehensive guide will walk you through the process of upgrade Light Fixtures Without Hiring a pro.
Upgrading light fixtures is one of the most cost-effective and visually transformative home improvement projects you can do. Whether you’re looking to modernize your interior design, increase your home’s resale value, or simply improve lighting efficiency, learning how to upgrade light fixtures without hiring a pro can save you a significant amount of money. This comprehensive guide will walk you through the process step-by-step, ensuring a smooth, safe, and successful DIY experience.
Why Upgrade Light Fixtures?
Before we dive into the how-to, it’s essential to understand why so many homeowners choose to upgrade light fixtures:
- Enhanced Aesthetics: New light fixtures can refresh and modernize any room.
- Energy Efficiency: Upgrading to LED or smart lighting reduces electricity costs.
- Improved Functionality: Better lighting enhances usability and comfort.
- Increased Home Value: Stylish and energy-efficient fixtures can appeal to potential buyers.
- Customization: Choose lighting that reflects your style and meets your specific needs.
Essential Tools and Materials
To upgrade light fixtures successfully, gather the following tools and materials:
- Screwdrivers (flathead and Phillips)
- Voltage tester
- Wire strippers
- Wire nuts/connectors
- Electrical tape
- Ladder or step stool
- New light fixture(s)
- Circuit breaker access
Safety First
Before starting any electrical project, safety is paramount. Here are key precautions:
- Turn Off Power: Switch off the circuit breaker to the light fixture you’re replacing.
- Test for Live Wires: Use a voltage tester to confirm the power is off.
- Read Manufacturer Instructions: Follow the new fixture’s manual closely.
- Have a Partner: If possible, have someone assist you, especially when handling large fixtures.
Step-by-Step Guide to Upgrade Light Fixtures
Step 1: Remove the Old Fixture
- Turn off the circuit breaker.
- Remove the light bulb(s) and fixture cover.
- Unscrew the old fixture from the mounting bracket.
- Carefully pull down the fixture to access the wiring.
- Disconnect the wires: typically black (hot), white (neutral), and green or bare (ground).
- Use the voltage tester one more time to ensure wires are not live.
Step 2: Inspect and Prepare the Wiring
- Check wire condition: Frayed or damaged wires should be replaced.
- Straighten wires using pliers or wire strippers.
- Identify wire colors: Ensure they are standard and easily distinguishable.
Step 3: Install the New Mounting Bracket
- Attach the new bracket (included with your new fixture) to the electrical box.
- Ensure the bracket is securely fastened and aligned.
Step 4: Connect the Wires
- Match wire colors: black to black, white to white, and green/bare to ground.
- Twist wires together and secure with wire nuts.
- Wrap connections with electrical tape for added safety.
- Tuck wires neatly into the electrical box.
Step 5: Attach the New Fixture
- Align the fixture with the mounting bracket.
- Secure the fixture with the provided screws.
- Install bulbs as recommended (preferably LED for energy efficiency).
- Reattach any covers or shades.
Step 6: Restore Power and Test
- Turn the circuit breaker back on.
- Test the light fixture to ensure it works correctly.
- If it doesn’t work, turn off the power again and recheck connections.
Popular Types of Upgrade Light Fixtures
- Ceiling Lights: Ideal for general room illumination.
- Chandeliers: Perfect for entryways and dining rooms.
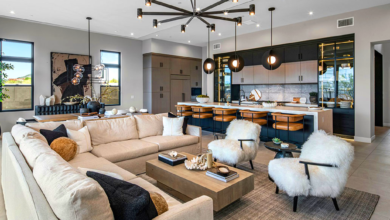
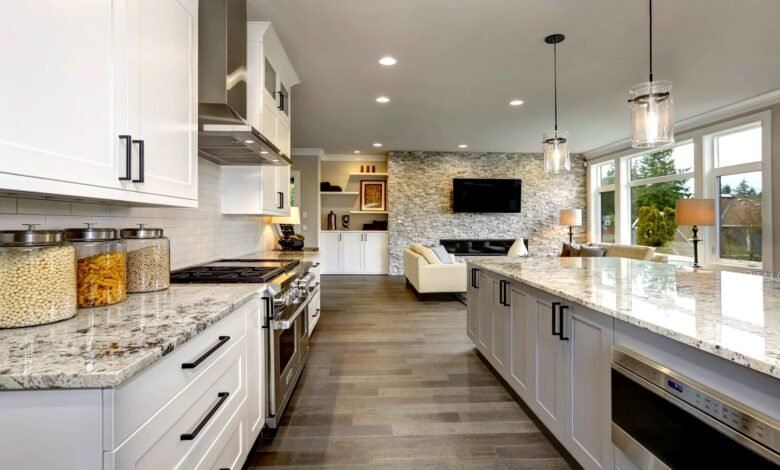
- Pendant Lights: Great over kitchen islands and counters.
- Wall Sconces: Excellent for hallways and bathrooms.
- Track Lighting: Versatile and modern for kitchens and studios.
- Recessed Lighting: Sleek and space-saving for a minimalist look.
Tips for a Successful Upgrade Light Fixtures
- Measure Twice: Ensure the new fixture fits your space and existing electrical box.
- Choose the Right Bulbs: LED bulbs are efficient and long-lasting.
- Mind the Ceiling Height: Pick fixtures that complement your room dimensions.
- Add a Dimmer Switch: Improve ambiance and save energy.
- Coordinate Finishes: Match fixture finishes with other room hardware.
Common Mistakes to Avoid
- Not turning off the power properly.
- Using incompatible mounting hardware.
- Failing to connect ground wires.
- Overloading circuits with too many high-wattage fixtures.
- Ignoring local electrical codes.
When to Call a Professional
While many upgrade light fixtures are DIY-friendly, there are times when hiring a professional electrician is best:
- When dealing with old or damaged wiring.
- If the electrical box is loose or corroded.
- When installing heavy chandeliers or complex fixtures.
- If you’re unsure about any step in the process.
Upgrade Light Fixtures on a Budget
- Shop Smart: Look for deals online or at home improvement outlets.
- Repurpose Old Fixtures: Give outdated fixtures a modern makeover with paint or new shades.
- DIY Kits: Some kits are designed for easy conversion without full replacement.
- Group Projects: Upgrade light fixtures in one go to save time and effort.
Smart Lighting: The Future of Home Illumination
Smart lighting technology is revolutionizing how we light our homes. Consider upgrading light fixtures with smart features:
- Voice Control: Integrate with Alexa, Google Assistant, or Siri.
- App Scheduling: Turn lights on/off remotely or on a schedule.
- Mood Settings: Customize brightness and color temperature.
- Energy Monitoring: Track usage and optimize efficiency.
Conclusion
Learning how to upgrade light fixtures without hiring a pro empowers homeowners to take control of their living spaces. With the right tools, safety precautions, and a bit of patience, even novice DIYers can successfully enhance their home’s lighting. Not only will you save money, but you’ll also enjoy the satisfaction of completing a home improvement project on your own.